Springtime Schooner building
So here's some pictures of work over the winter up to now. I didn't much feel like making posts about lately so I'm just kind of throwing together all the photos I took. A lot of this is out of order.
I still haven't settled on a name. Maybe by the next time I'll have one.
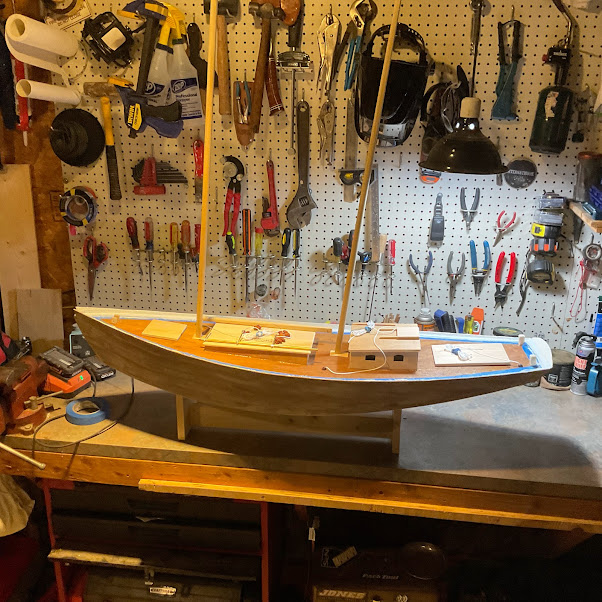
Setting the mast rake here. I've read that a two masted ship should have the masts slightly out of parralel widening skyward. Apparently this arrangement is more pleasing aesthetically. Main mast is 6 degrees fore-mast is 5degrees.
Here's the sheet tubes being run. These guide the sheets from the winch line up through the deck without introducing any sharp angles. I used 1/4 icemaker line that I found at ScrapsKC.
Here's the compartment with a nylon strap to retain the receiver. Placement on the bullkhead hopefully will keep the electronics dry and happy.
Here's the battery box I built with a switch. It's held down with a bit of elastic strap sewn into the cover.
This is another view of the fore section of the winch looking through a hatch.
The bowsprit has been carved and is being test-fit. This is the second bowsprit I made as I made the first one to the wrong length for the gaff sail plan.
The deck removed for winch line installation
One of the 18 handmade blocks made entirely of 110+ year old Douglas fir salvaged from my house. I tested each with a 4 lb lead weight to be sure they'd not fail while at sea.
This is the jig and a partially cut block
Fitting and carving the masts
The rudder needs a solid core. I braised this bit out of 1/4 and 1/8 inch round brass bar stock and some lead free solder. I'm happy with how nice this came out.
setting up for threading
bar stock work
here's a block before being painted with poly
masts are in place. I think the rake was 7 degrees here, a bit more rakish than what I settled on later
rudder core threaded with 1/4 x 20 threads for the servo horn.
Tonight I finally attached the deck permanently. This is a huge step. No going back now.
The masking tape should provide nice clean lines between paint and brightwork
The through-deck fairleads are wooden beads I also found at ScrapsKC
Deck epoxy fillets in place and curing
next step gunnels and standing rigging, or maybe carving booms and gaffs.


"Just making a mess" lol
ReplyDeleteAwesome, man. I just found this page. Project looks great.
ReplyDelete